
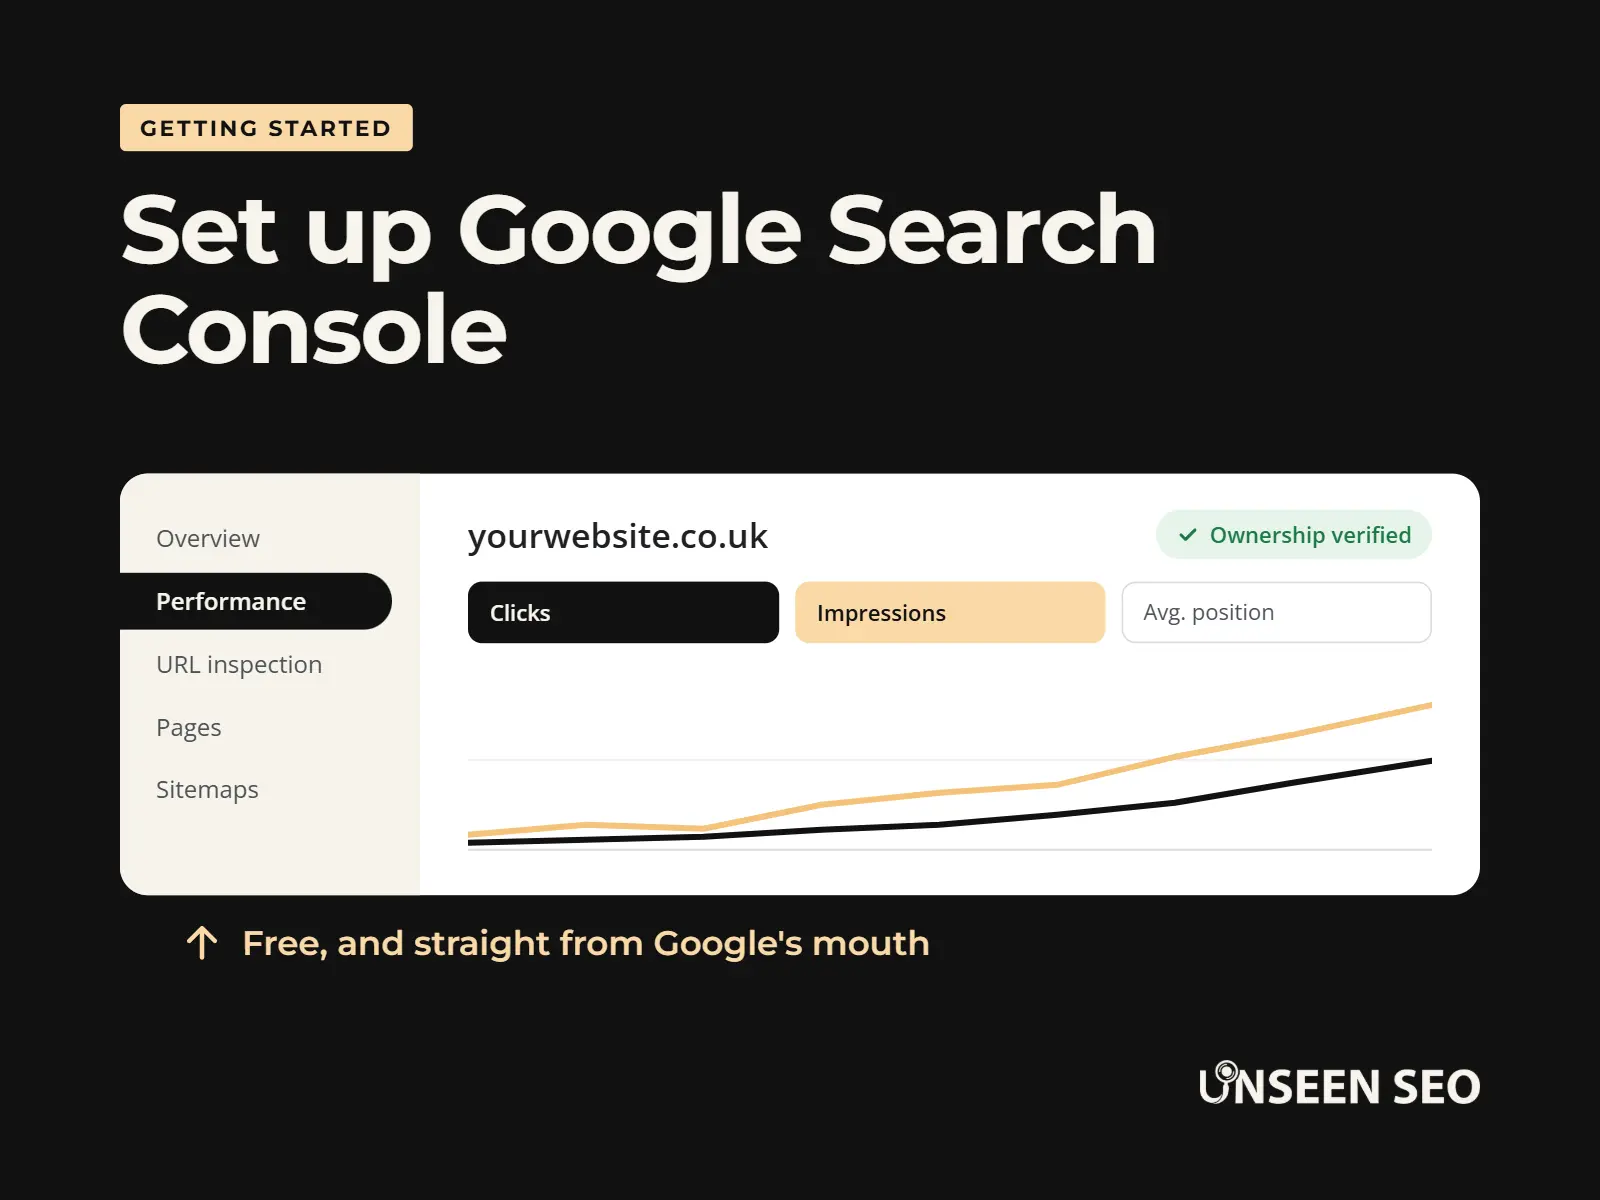
Google Search Console is free, and setting it up takes about ten minutes (plus a cup of tea while Google checks your paperwork). It’s the only place Google tells you, directly, how it sees your website.
This guide shows you how to set up Google Search Console step by step, in plain English, and then how to use Google Search Console once it’s running. No skipped screens, and no jargon you’re expected to already know.
Contents
- What is Google Search Console?
- Why bother setting it up?
- Before you start: what you’ll need
- Step 1: Sign in and add your website
- Step 2: Prove the website is yours
- Step 3: Submit your sitemap
- Step 4: Link it to Google Analytics (optional)
- Step 5: Give access to anyone who needs it
- How to use Google Search Console
- A simple monthly Search Console routine
- Common setup problems (and how to fix them)
What is Google Search Console?
Google Search Console (often shortened to GSC) is a free tool from Google that shows how your website is doing in Google Search. Think of it as a direct line from Google to you: what it’s found on your website, what it’s struggling with, and what people searched for before they clicked on you.
It won’t change your rankings by itself. Setting it up doesn’t push you up the results. What it does is show you what’s going on, so you can stop guessing and fix the things that are actually holding you back.
It used to be called Google Webmaster Tools, so if you see that name in older guides, it’s the same thing.
Why bother setting it up?
Because it’s free, and because there’s no other way to get this information straight from Google. With Search Console you can see:
- Which of your pages Google has indexed (added to its results, so they’re able to show up in searches), which it hasn’t, and why
- The exact searches people typed before your website appeared, and how often they clicked
- Your impressions (how often you appeared in the results) and your click-through rate (the percentage of those people who clicked)
- Pages that are broken, slow on mobile, or blocked from Google by mistake
- Any security problems or penalties, which Google will also email you about
If you’ve ever wondered “why isn’t my website showing up on Google?”, Search Console is usually where the answer is hiding. We’ve written a whole guide on why your business might not show up on Google, and most of the checks in it start here.
Search Console vs Google Analytics
People mix these two up all the time, which is fair, because Google gave them very similar names. Google Analytics tells you what people do once they’re on your website. Search Console tells you what happens before they arrive: how you look in Google, and what made them click. You’ll want both eventually, but if you only set up one today, make it Search Console.
Before you start: what you’ll need
You don’t need to be technical. You need three things:
- A Google account. Any Gmail address works. If you already use Google Analytics or a Google Business Profile, use the same account, as it makes life easier later.
- Access to your website. Your WordPress (or Wix, Squarespace or Shopify) login, so you can add a small piece of code or switch on a setting.
- Possibly, access to your domain settings. That’s wherever you bought your web address (IONOS, GoDaddy, 123 Reg and so on). You’ll only need this if you choose the Domain option in step 1.
If someone else built your website and you don’t have these logins, ask them now. It’s your website and your data, so you should have access either way.
Step 1: Sign in and add your website
Go to Google Search Console and click Start now. Sign in with your Google account.
Google will ask you to add a “property”. That’s just Search Console’s word for a website. You’ll see two options side by side: Domain and URL prefix.
Domain or URL prefix: which should you pick?
- Domain covers every version of your website in one go: with and without www, http and https, and any subdomains like shop.yourwebsite.co.uk. You just type in your web address (yourwebsite.co.uk). The catch is that it can only be verified by adding a record to your domain settings (more on that below).
- URL prefix covers only addresses that start with exactly what you type, for example https://www.yourwebsite.co.uk. It’s pickier, but it gives you more ways to verify, including some that take seconds.
Our advice: choose Domain if you can get into your domain settings, because you’ll see everything in one place and won’t miss data from the “wrong” version of your address. If that feels like too much, URL prefix is completely fine for most small business websites. Just type your address exactly as it appears in your browser, including https:// and www if you use it.
You can always add the other type later. Plenty of people end up with both.
Step 2: Prove the website is yours
Google won’t show you a website’s data until you prove you own it, which is fair enough. This is called verification, and how you do it depends on the option you picked in step 1.
If you chose Domain: add a DNS record
Google gives you a line of text starting with google-site-verification=. This goes into your domain’s DNS settings as a TXT record (DNS is basically your domain’s address book, and a TXT record is a note in it). Copy the text, then:
- Log in to wherever you bought your domain
- Find the DNS settings (sometimes called DNS records, DNS management or zone file)
- Add a new record, choose the type TXT, leave the host or name as @ (or blank, depending on your provider) and paste Google’s text into the value box
- Save it, go back to Search Console and click Verify
Don’t panic if it fails the first time. Google says it can take up to two or three days for a new DNS record to start working, although it’s often much quicker. Make a cuppa, come back later and click Verify again.
Some domain providers can do this for you. If Search Console offers to sign you in to your provider and add the record automatically, take it.
If you chose URL prefix: pick the easiest method
You’ll get a list of methods. The most useful ones for small businesses are:
- HTML tag. Google gives you a short line of code (a meta tag). On WordPress, most SEO plugins, including Yoast, Rank Math and All in One SEO, have a box for Google’s verification code, so you paste it there and save. No SEO plugin? A header plugin like WPCode lets you paste it into your website’s head section without touching any theme files.
- Google Analytics. If Google Analytics is already on your website and you’re signed in with the same Google account (with edit access), you can just click Verify. It’s the quickest option if it applies to you.
- Google Tag Manager. Same idea, if you use Tag Manager and have publish access.
- HTML file upload. Download a small file from Google and upload it to the main folder of your website. Fine if you’re comfy with file managers, overkill if you’re not.
Wix, Squarespace and Shopify all have their own built-in way to connect Search Console or paste in the verification tag, usually somewhere in the SEO or marketing settings. Their help pages walk you through it.
Keep the verification in place
Once you’re verified, leave the tag, file or DNS record exactly where it is. Google checks it again from time to time, and if it’s gone, you’ll lose access. This catches people out when they change theme, switch SEO plugin or rebuild their website, so it’s worth adding to your list of things to check afterwards.
Step 3: Submit your sitemap
A sitemap is a list of all the pages on your website, written for search engines. Handing it to Google is like giving a delivery driver a list of addresses instead of letting them wander up and down the street.
Most websites create one automatically. Try adding these to the end of your web address to find yours:
- /sitemap.xml (the most common)
- /sitemap_index.xml (used by Yoast and Rank Math)
- /wp-sitemap.xml (WordPress’s built-in one, if you don’t have an SEO plugin)
When one of them shows a page full of links or code, that’s it. Then in Search Console:
- Click Sitemaps in the left-hand menu (under Indexing)
- Type the end part of your sitemap address (for example sitemap.xml) into the “Add a new sitemap” box
- Click Submit
You want the status to say Success. “Couldn’t fetch” means Google can’t open the file at all, which is usually a typo or a plugin setting. Worth knowing: submitting a sitemap tells Google where your pages are, but it doesn’t guarantee they’ll all be crawled or indexed. It’s an invitation, not a booking.
Step 4: Link it to Google Analytics (optional)
If you use Google Analytics, linking the two lets you see some Search Console data inside Analytics. It’s optional, and you can skip it today without breaking anything.
In Google Analytics, go to Admin, then Product links, then Search Console links, and follow the steps to choose your Search Console property. You’ll need edit access in Analytics and owner access in Search Console, which is easiest if you use the same Google account for both.
Step 5: Give access to anyone who needs it
If someone helps with your website or SEO, don’t hand over your Google password. Add them as a user instead: in Search Console, go to Settings, then Users and permissions, then Add user. You’ll choose a permission level:
- Owner: full control, including adding and removing people. Keep this one for yourself.
- Full user: can see everything and take most actions. Right for your web developer or SEO person.
- Restricted user: can see most of the data but can’t change anything. Handy for someone who just wants to keep an eye on things.
When someone stops working with you, remove them. It takes ten seconds and saves an awkward conversation later.
And that’s it, you’re set up. Data usually starts appearing within a few days, so don’t worry if the reports look empty on day one. Google isn’t ignoring you, it’s just catching up.
How to use Google Search Console
Search Console has a lot of menus, but small businesses only really need a handful of them. Here’s what each one is for, roughly in the order you’ll use them.
Performance: how people find you
This is the main report, and the most interesting one. It shows four numbers for your website in Google Search:
- Total clicks: how many times someone clicked through to your website
- Total impressions: how many times your website appeared in the results, whether or not anyone clicked
- Average CTR: the percentage of impressions that turned into clicks
- Average position: roughly where you appear in the results, on average (1 is the top)
Scroll down to the Queries tab to see the actual searches that brought people to you. This bit is gold. You’ll often find people reaching you through searches you never thought to write about, or looking for your services in towns you didn’t know you were showing up in. Those are great clues for your next bit of keyword research or your next blog post.
Look out for searches with lots of impressions but very few clicks. That usually means you’re showing up, but your listing isn’t tempting enough, and a better page title or meta description can help. You can test yours with our free meta description checker.
Search Console keeps around 16 months of performance data, so it’s also a good way to see whether things are improving over time.
Pages: what Google has (and hasn’t) indexed
Under Indexing, then Pages, you’ll see how many of your pages are indexed and how many aren’t, grouped by the reason. Some reasons are perfectly normal, like redirects, or pages you’ve deliberately hidden with a noindex tag. Others are worth digging into. The two you’ll see most on small business websites are:
- Discovered, currently not indexed: Google knows the page exists but hasn’t got round to crawling it yet. Common on newer websites without many links pointing to them.
- Crawled, currently not indexed: Google has looked at the page and decided not to include it, for now. This is often a sign the page doesn’t say enough or is too similar to others. Our guide to thin content explains how to fix that.
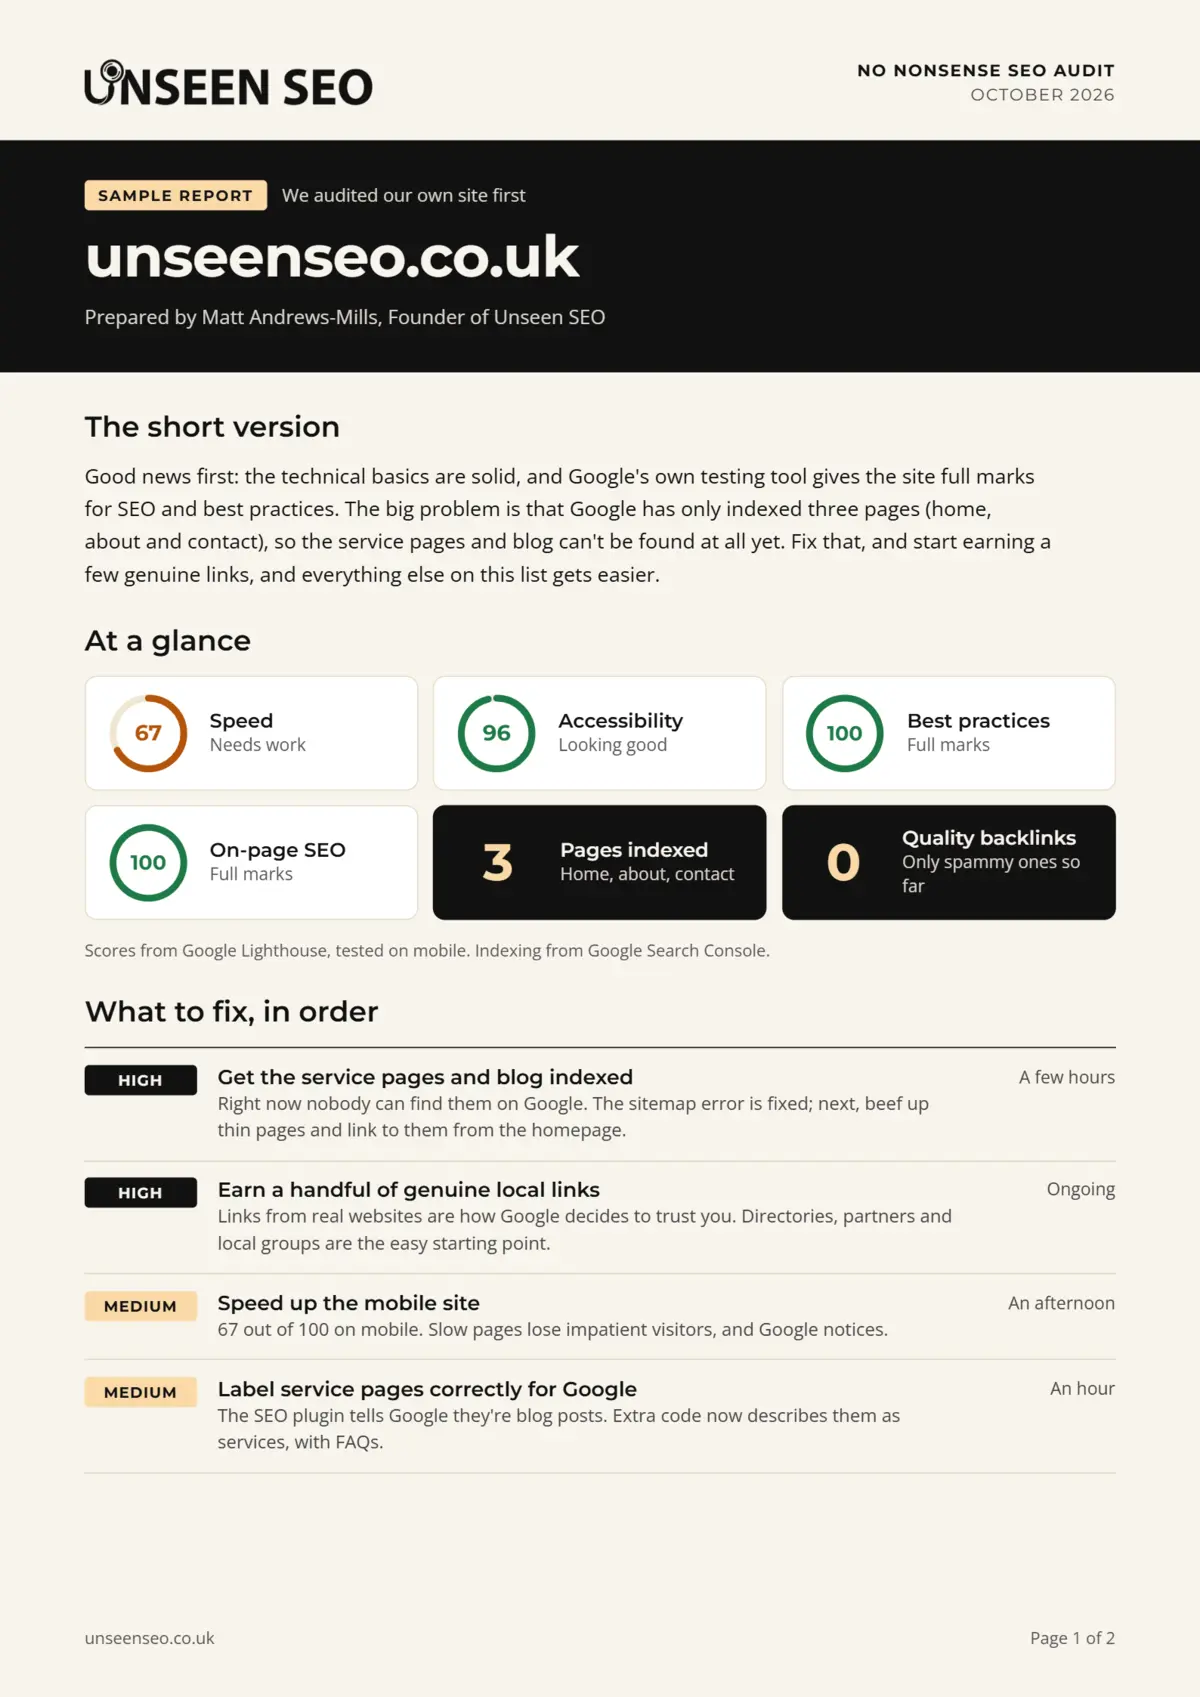
We’re not just preaching here. When we audited our own website, Search Console showed only three pages indexed (home, about and contact). It’s the first place we look in every SEO audit, because it tells you straight away whether Google can even see the work you’ve put in.
URL Inspection: check a single page
Paste any page address from your website into the search bar at the very top of Search Console. It tells you whether that page is on Google, when Google last crawled it, and whether there are any problems.
If you’ve just published or updated a page, click Request indexing to nudge Google to take a look. It’s a polite knock on the door, not a guarantee, and pressing it ten times won’t make Google come round any faster.
Sitemaps: check it still works
The same report you used in step 3. Pop back now and then to check it still says Success, especially after changing plugins or rebuilding your website.
Core Web Vitals and HTTPS: is your website pleasant to use?
Under Experience, the Core Web Vitals report shows whether real visitors find your pages fast and stable, split into mobile and desktop. The HTTPS report checks your pages are served securely. Don’t worry if Core Web Vitals says there isn’t enough data. It needs a certain amount of real traffic before it can report anything, so on smaller websites it can stay empty.
Security issues and Manual actions: hopefully empty
These two reports tell you if your website has been hacked, or if someone at Google has penalised it for breaking their spam rules. On almost every small business website, both say “No issues detected”, which is exactly what you want to see. Google will also email you if anything turns up here.
Links: who’s linking to you
The Links report shows which other websites link to yours (backlinks) and how your own pages link to each other (internal links). It’s a useful sense check, and handy for spotting important pages that nothing else on your website links to.
A simple monthly Search Console routine
You don’t need to live in Search Console. Google itself suggests checking in around once a month, or whenever you make changes to your website. Here’s a 15 minute monthly check:
- Look for any emails from Search Console (and check they’re not landing in spam)
- Open Performance, compare the last three months with the period before, and note anything that’s moved a lot
- Look at Queries for new searches you’re appearing for, and jot down any blog ideas
- Open Pages and check the number of indexed pages hasn’t dropped unexpectedly
- Glance at Sitemaps, Security issues and Manual actions to make sure all is quiet
That’s it. Fifteen minutes a month, and you’ll know more about your website than most of your competitors know about theirs.
Common setup problems (and how to fix them)
- “Verification failed” with a DNS record. Usually the record just hasn’t kicked in yet. Wait a few hours (up to two or three days) and try again. Check you pasted the whole value with no extra spaces, and that you added it as a TXT record.
- “Verification failed” with the HTML tag. A caching plugin is often serving an old copy of your homepage. Clear your cache and try again. Also check you added the code to the homepage of the exact address you entered, as https and www both matter for URL prefix properties.
- You’ve lost access out of nowhere. Something has removed your verification, usually a new theme, plugin or website rebuild. Put the code or record back and verify again. Your data will still be there.
- The reports are empty. Give it a few days. If it’s still empty after a week, check you added the right version of your address (it’s easy to add http when your website uses https).
- Your sitemap says “Couldn’t fetch”. Open the sitemap address in your own browser. If it doesn’t load for you, it won’t load for Google either. Check your SEO plugin’s sitemap setting is switched on.
Google Search Console FAQs
Quick answers to the questions people ask most about setting up and using Search Console.
Once your website is verified, start with three reports. Performance shows the searches people use to find you and how often they click. Pages shows which of your pages Google has indexed, and why others aren’t. URL Inspection lets you check a single page and request indexing. Checking in once a month is plenty for most small businesses.
Go to the Google Search Console website, click Start now and sign in with any Google account. Then add your website as a property (Domain or URL prefix) and verify that you own it, using a DNS record, an HTML tag, Google Analytics or one of the other methods Google offers. There’s no separate registration form.
Yes. Google Search Console is completely free, and there’s no paid version. All you need is a Google account and access to your website (or your domain settings) so you can verify that it’s yours.
No, Google doesn’t make a dedicated Search Console app. The website works in your phone’s browser, so you can check your reports on the go, and Google will email you about any important issues. There are third-party apps that connect to Search Console, but they aren’t made by Google, so check what access you’re giving them before you sign in.
Usually a few days after you verify your website. Very new or very quiet websites can take a little longer, simply because there isn’t much search data to show yet. The most recent day or so of data can also change slightly while Google finishes collecting it.
Choose Domain if you can get into your domain’s DNS settings, because it covers every version of your website (www and non-www, http and https, and any subdomains) in one place. Choose URL prefix if you can’t, as it offers easier ways to verify, like an HTML tag or Google Analytics.
No. Search Console shows how your website performs in Google Search before anyone visits: the searches you appear for, your clicks, and any indexing problems. Google Analytics shows what people do once they’re on your website. They work well together, and you can link them.
Not on its own. Search Console doesn’t change how Google ranks your website. What it does is show you what’s holding your website back, so you can fix the right things first. It’s often where the quickest wins are hiding.
The five-minute version
Sign in to Search Console, add your website (Domain if you can, URL prefix if not), verify it, submit your sitemap and come back in a few days. Then spend 15 minutes a month in Performance and Pages. It’s free, it comes from Google itself, and there’s no better way to find out what Google actually thinks of your website.
Want a hand with it?
If you’ve set up Search Console and you’re now staring at a list of pages that aren’t indexed, wondering what on earth to do next, that’s exactly what our £150 No Nonsense Audit is for. We check your Search Console data alongside everything else that affects your rankings, and give you a plain English list of what to fix first. Fancy having a go yourself first? Our free SEO tools are a good place to start, or just drop us a message with your question.

Leave a Reply